Hardware
Two airflow options
Build it with the stock popper fan and DC speed control, or use the printed ASA fan with a brushless 12 V motor.
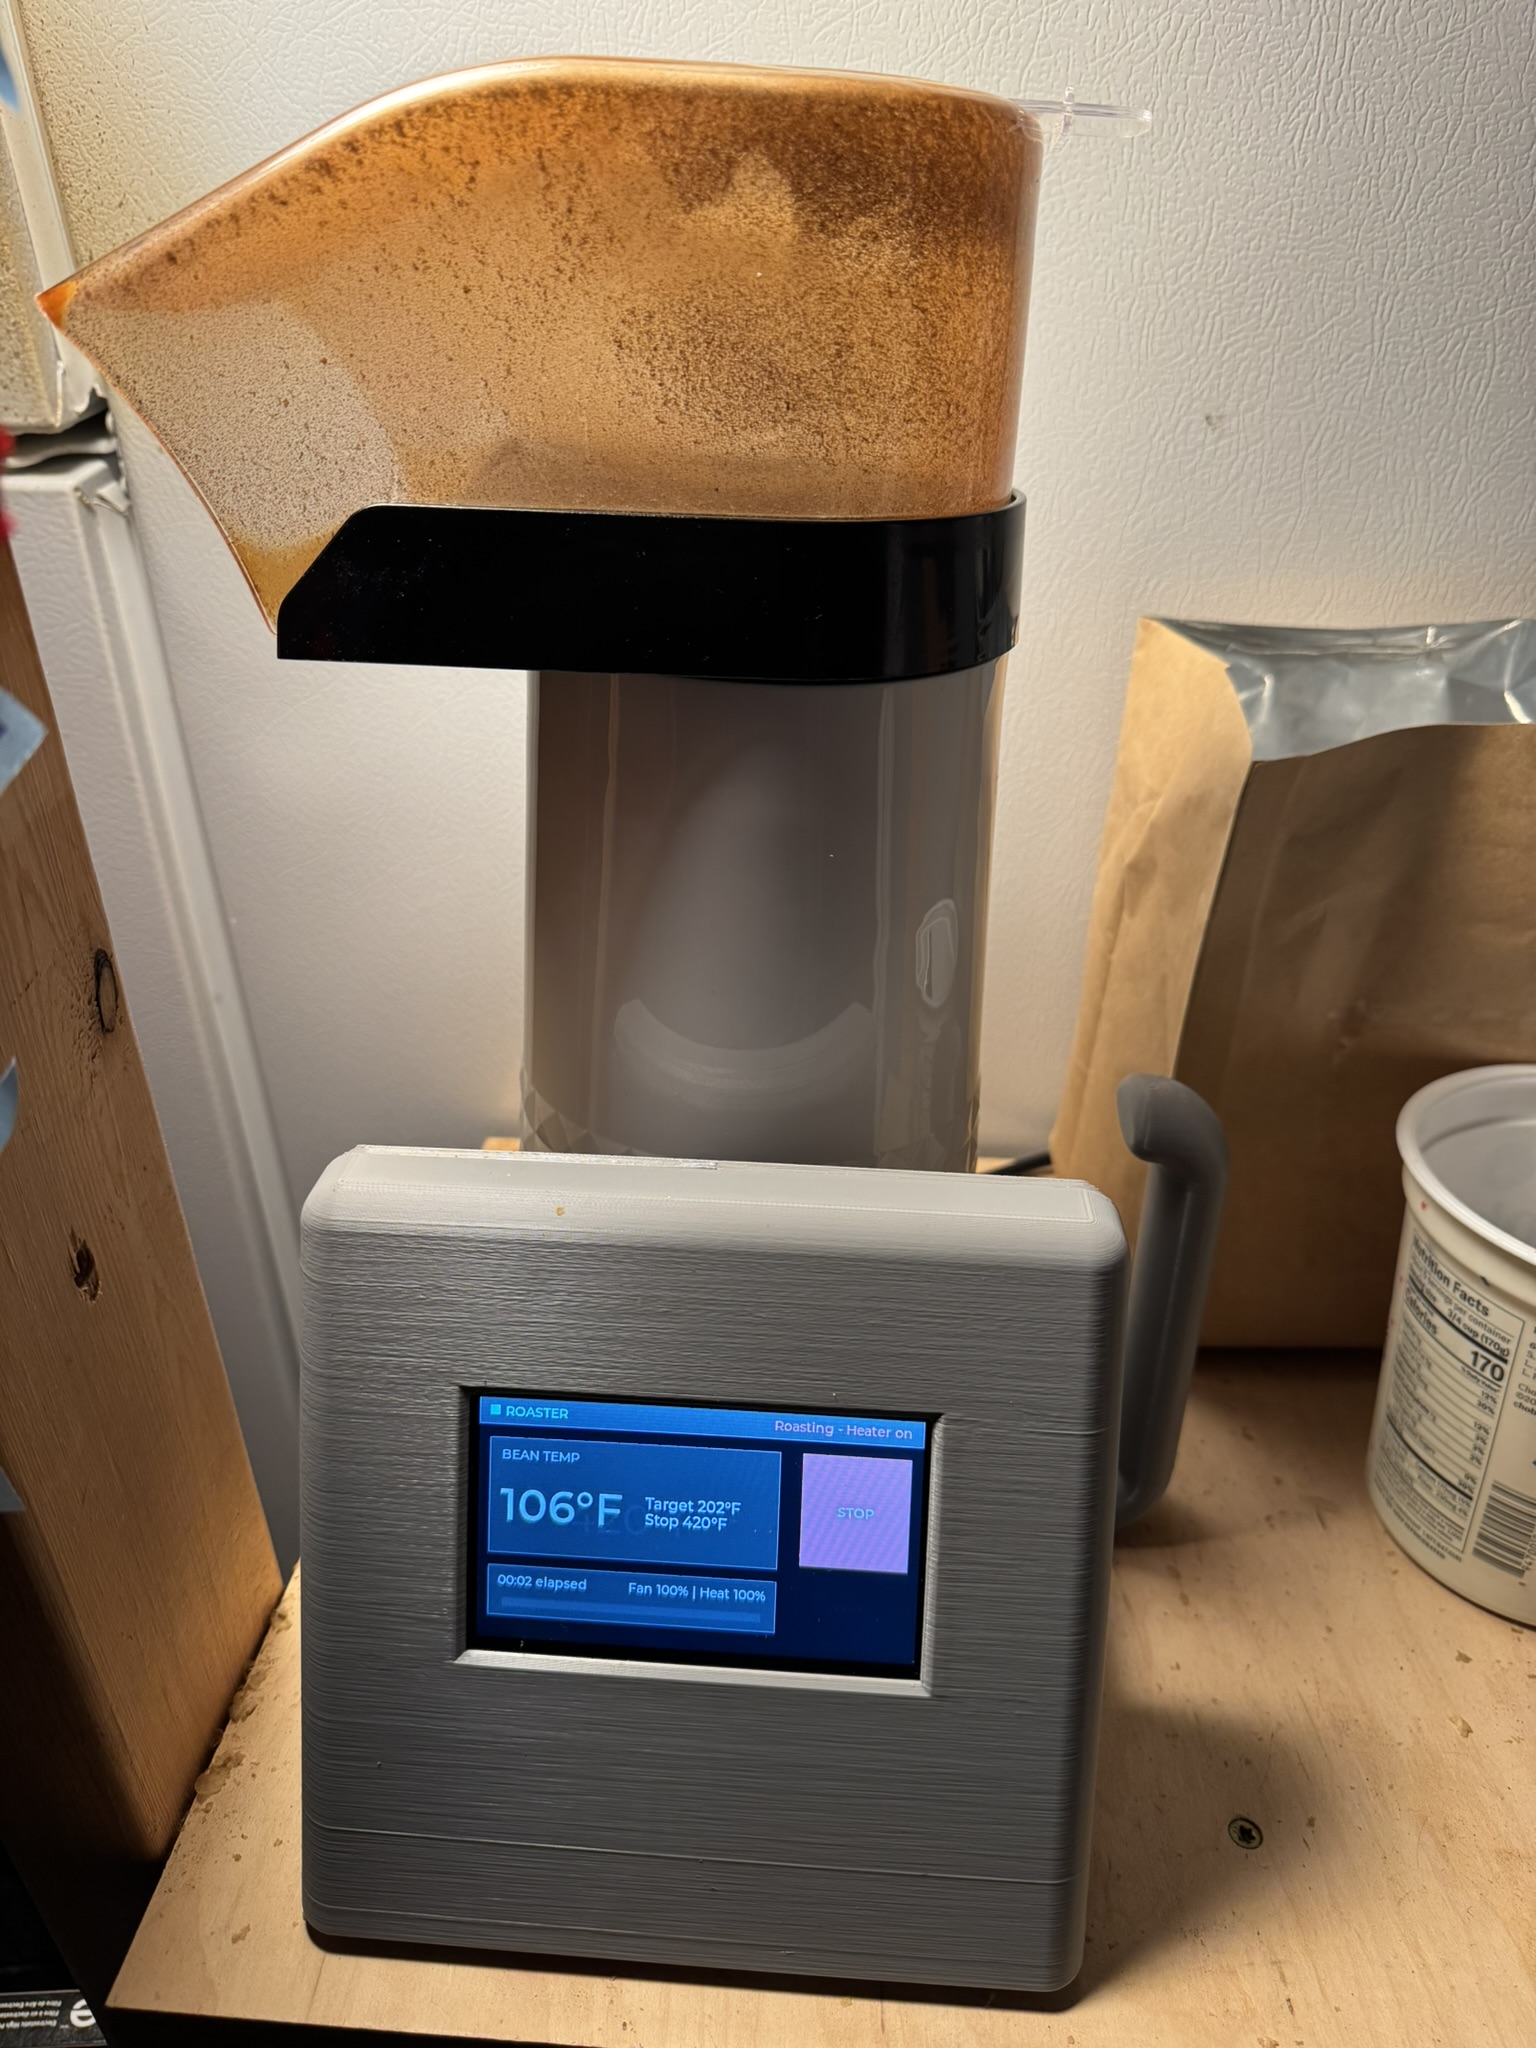
An open-source coffee roaster built from a modified popcorn popper, a cheap touchscreen, and a few other things.
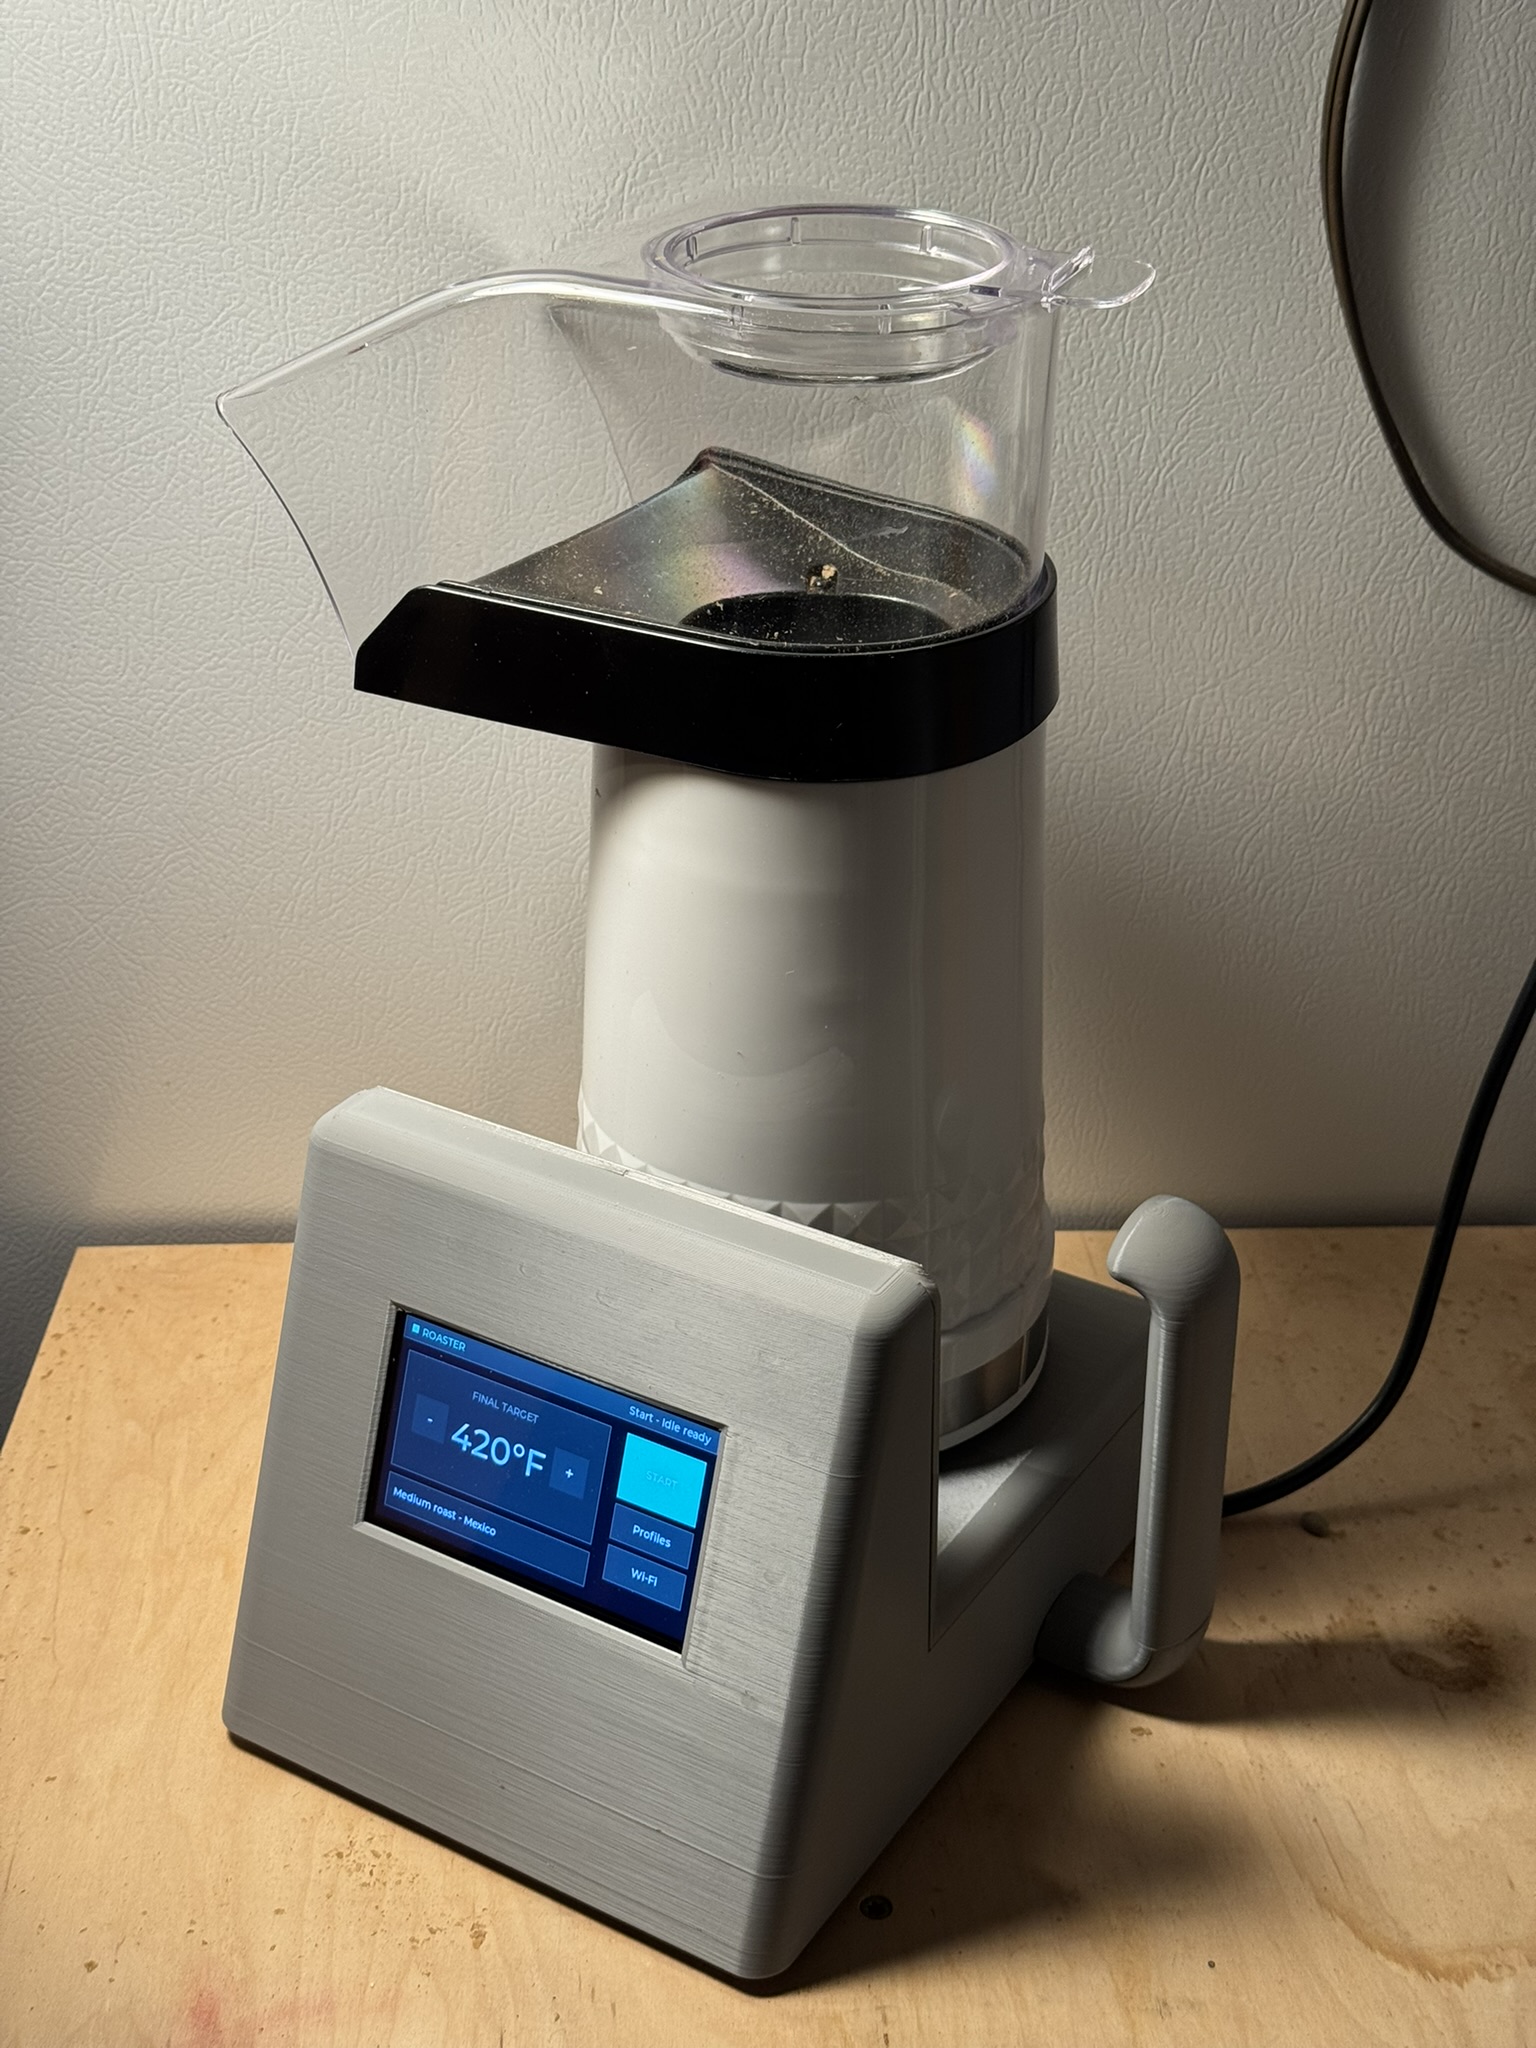
A quick look at the hardware and the roasting process.
This project includes hardware BOMs, software, 3D printed parts, and build documentation.
Build it with the stock popper fan and DC speed control, or use the printed ASA fan with a brushless 12 V motor.
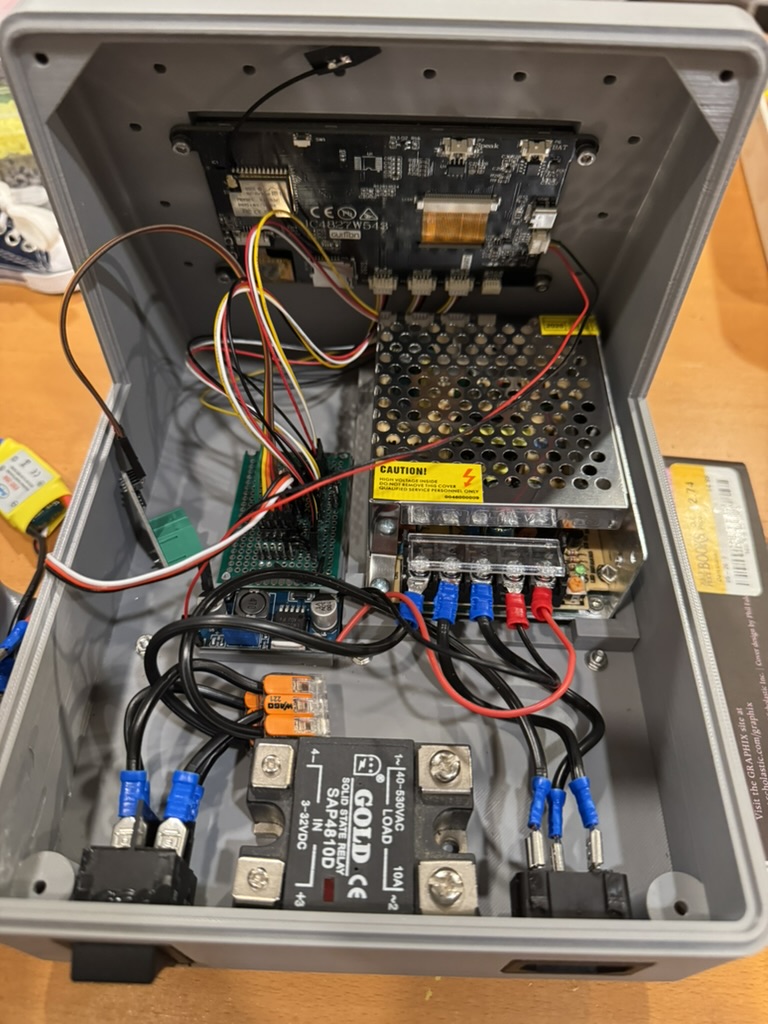
The build guide covers printed parts, breakout-board assembly, popper modification, wiring order, and first power-up checks.
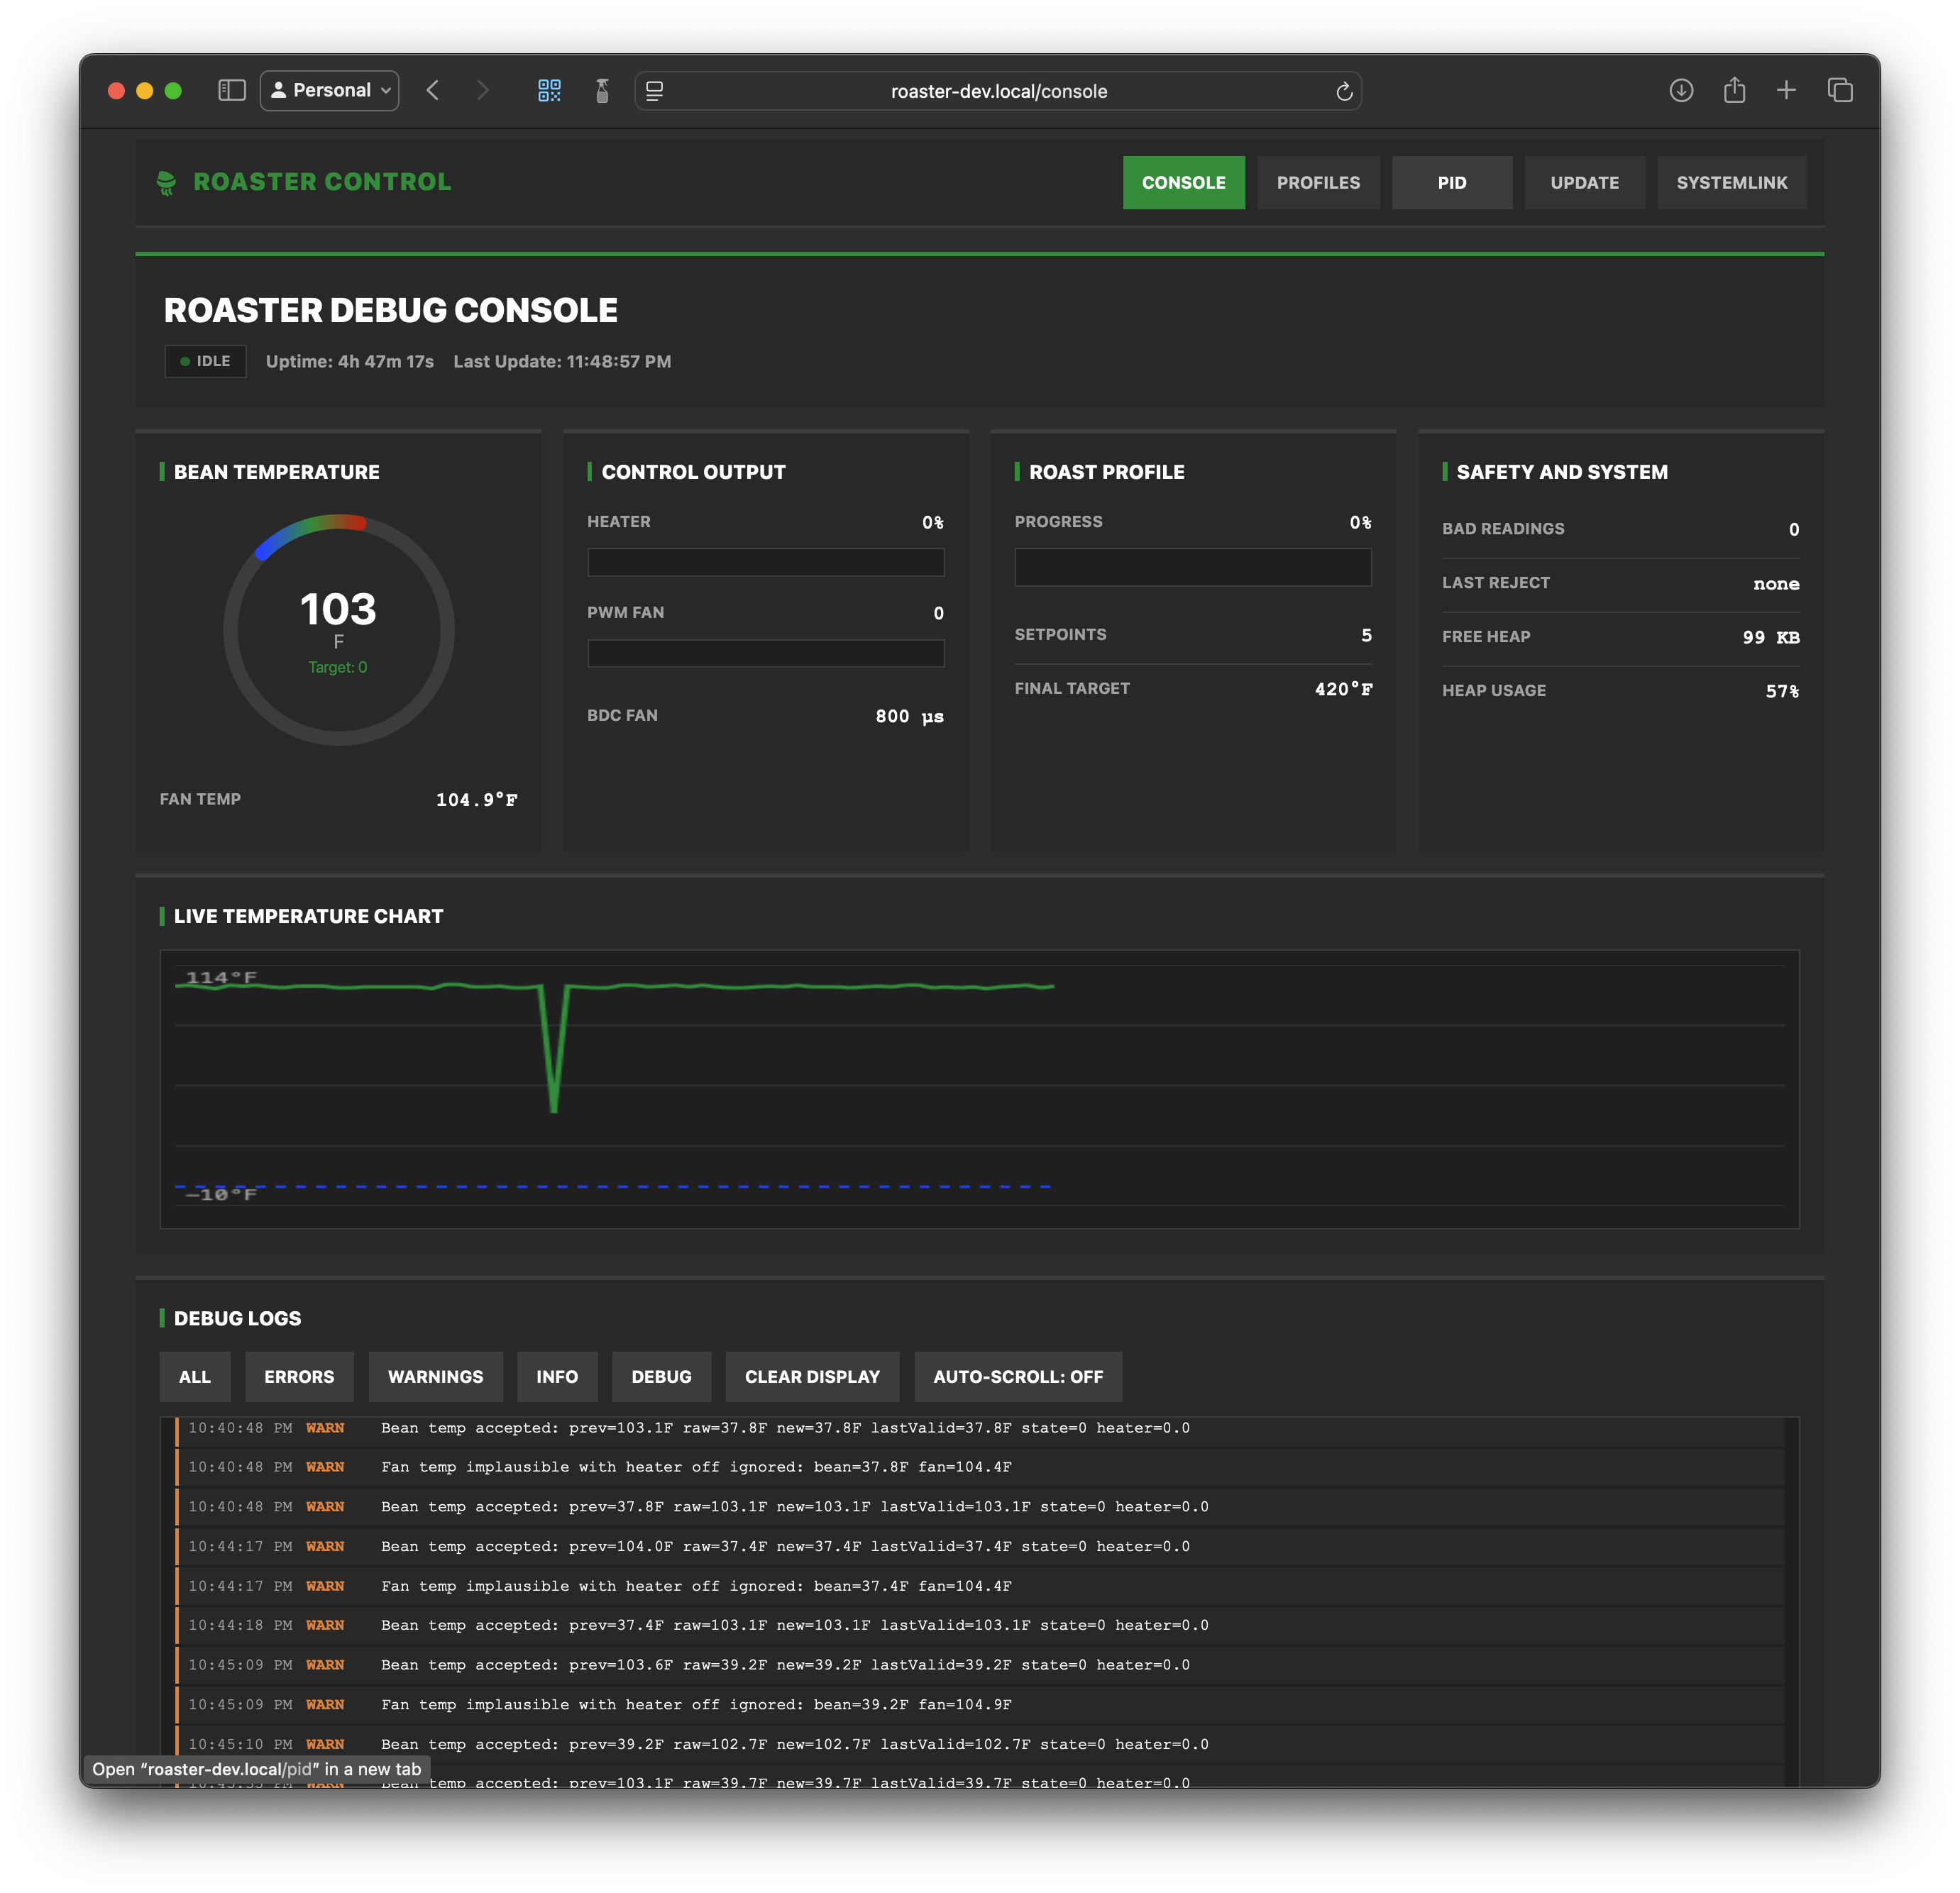
The JC4827W543C firmware includes the touchscreen UI, profile editor, debug console, PID workflow, OTA updates, and a REST API.
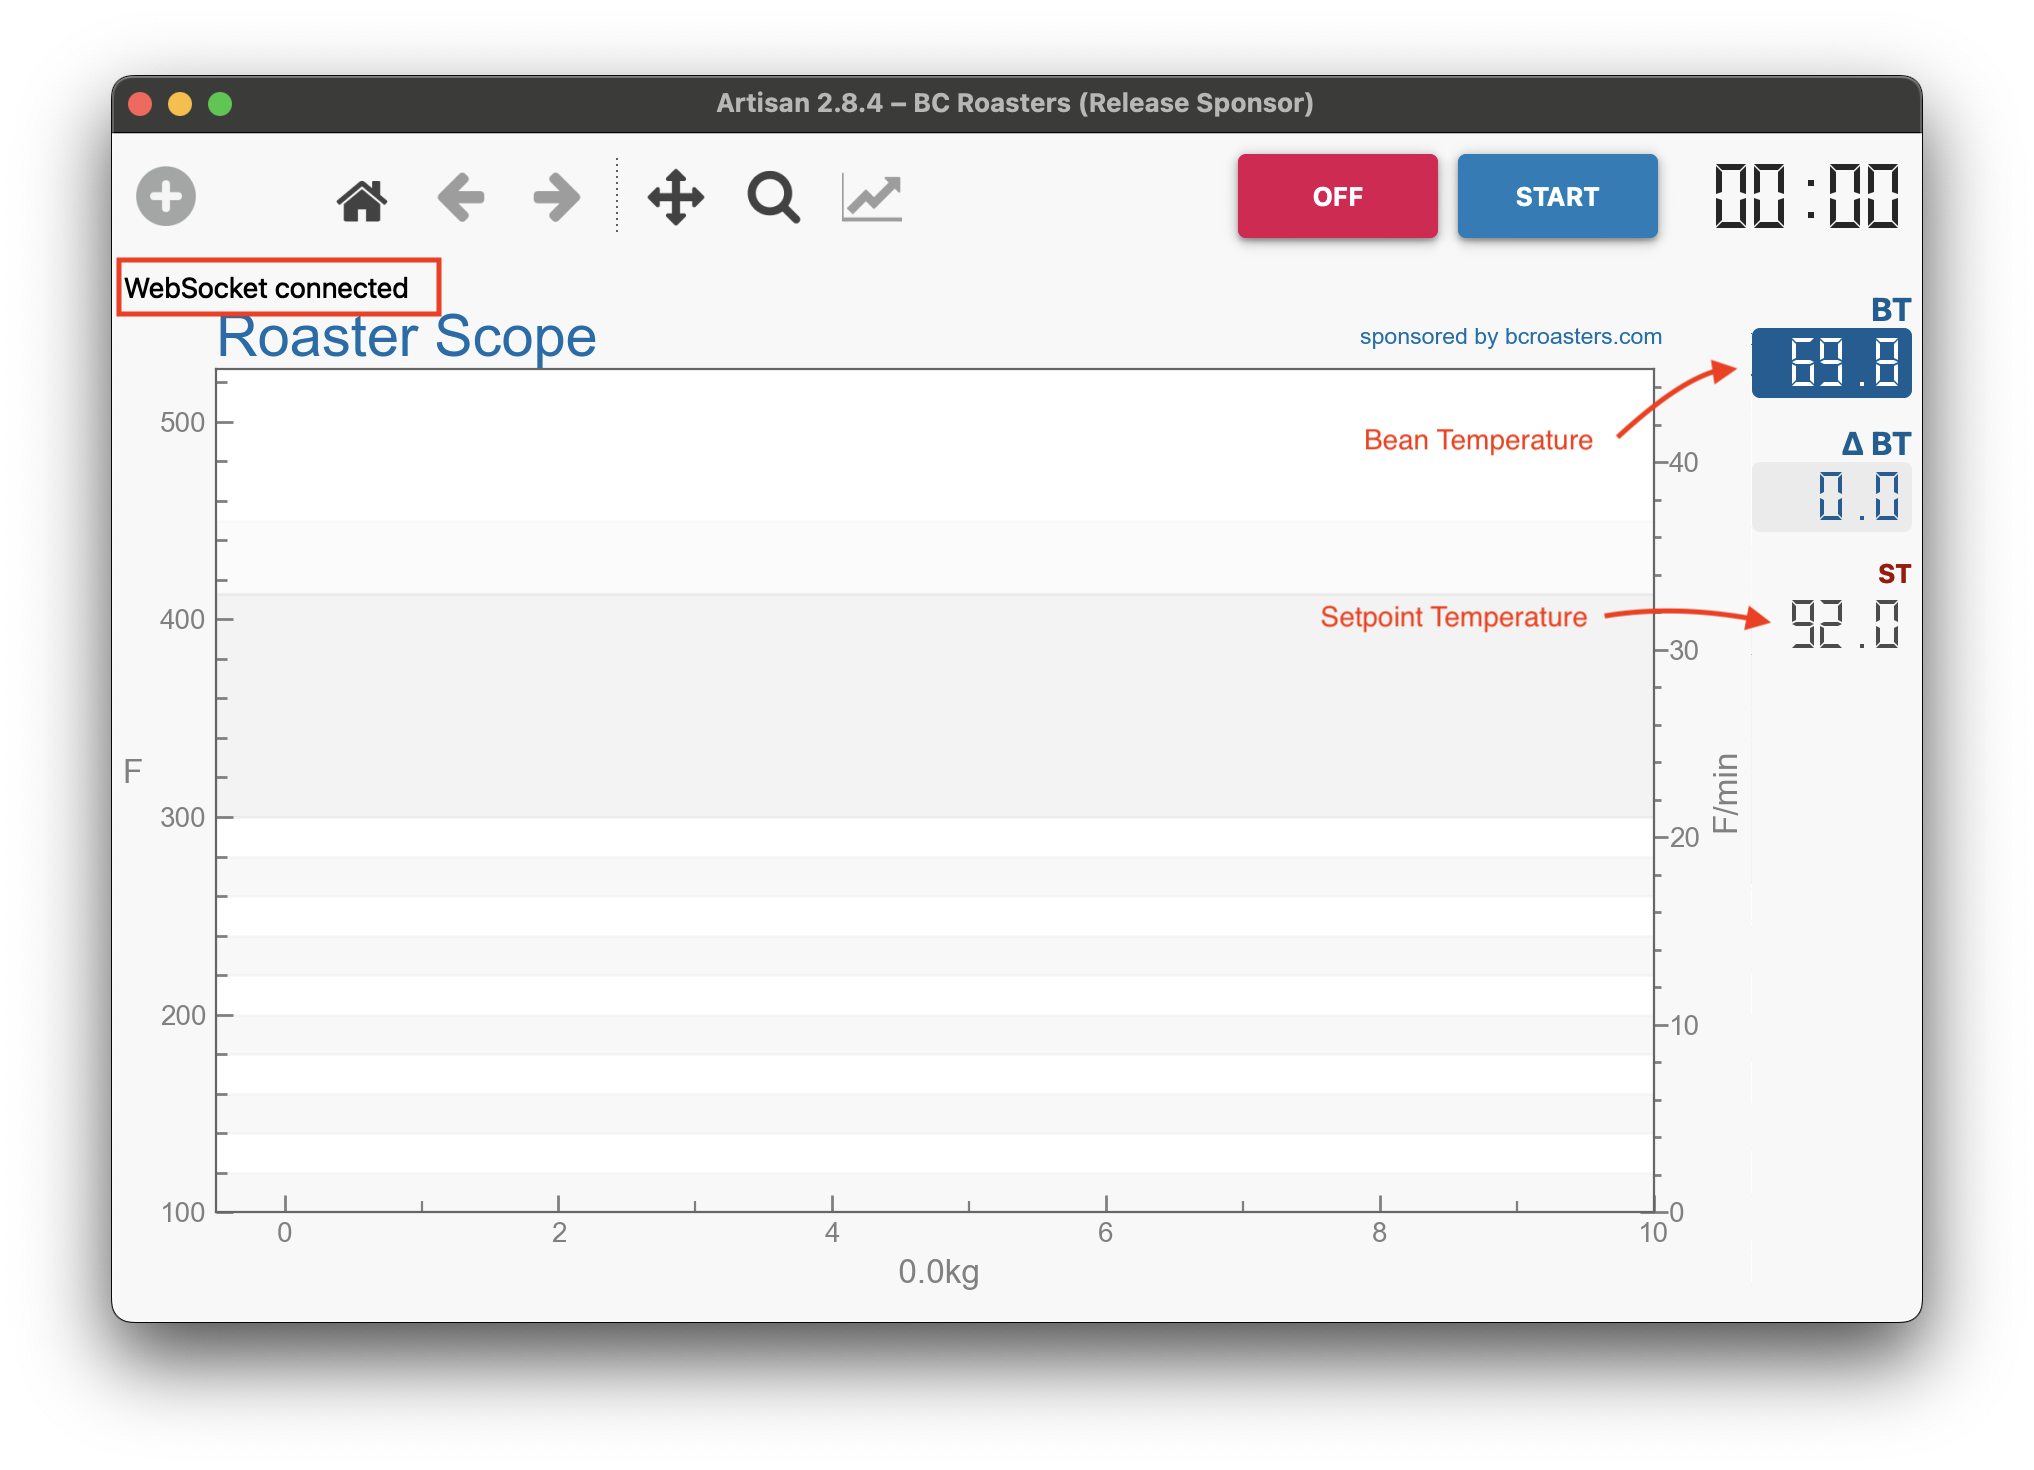
Connect the roaster to Artisan over WebSocket for live roast curves, logging, and post-roast analysis.
Use these guides for the hardware build, parts list, firmware workflows, and Artisan setup.
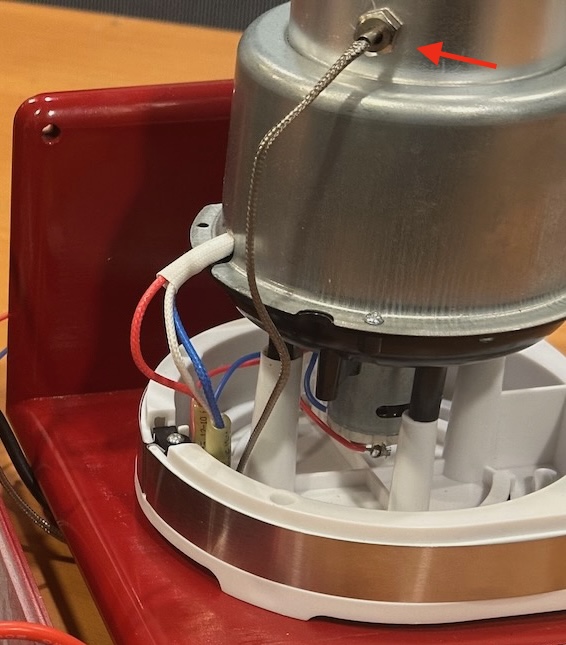
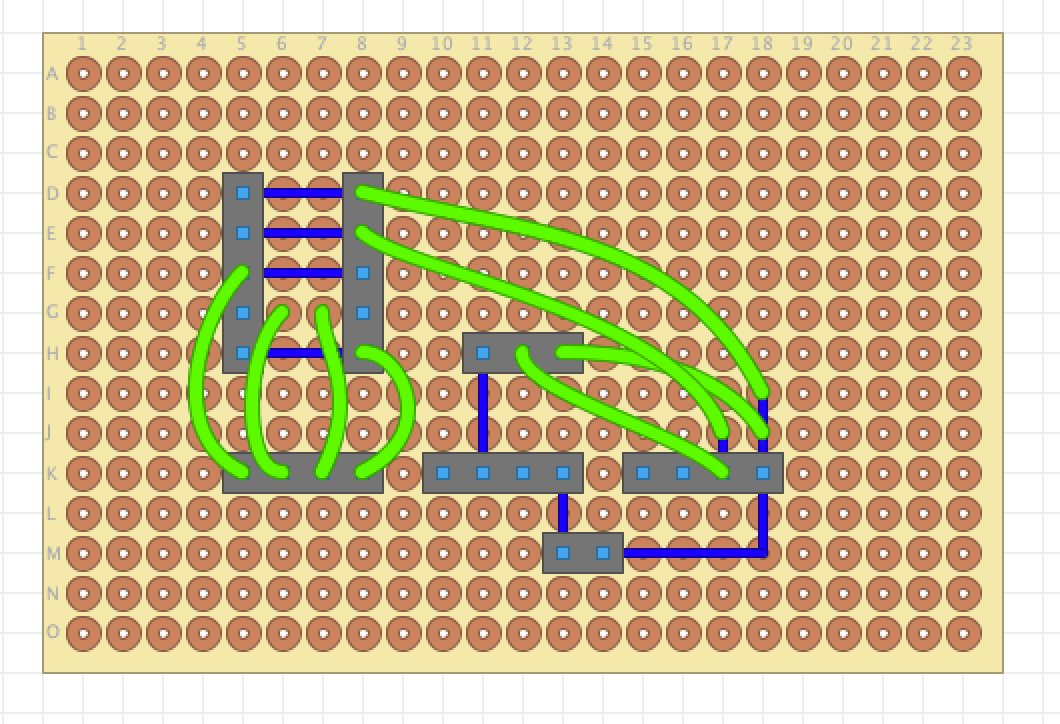
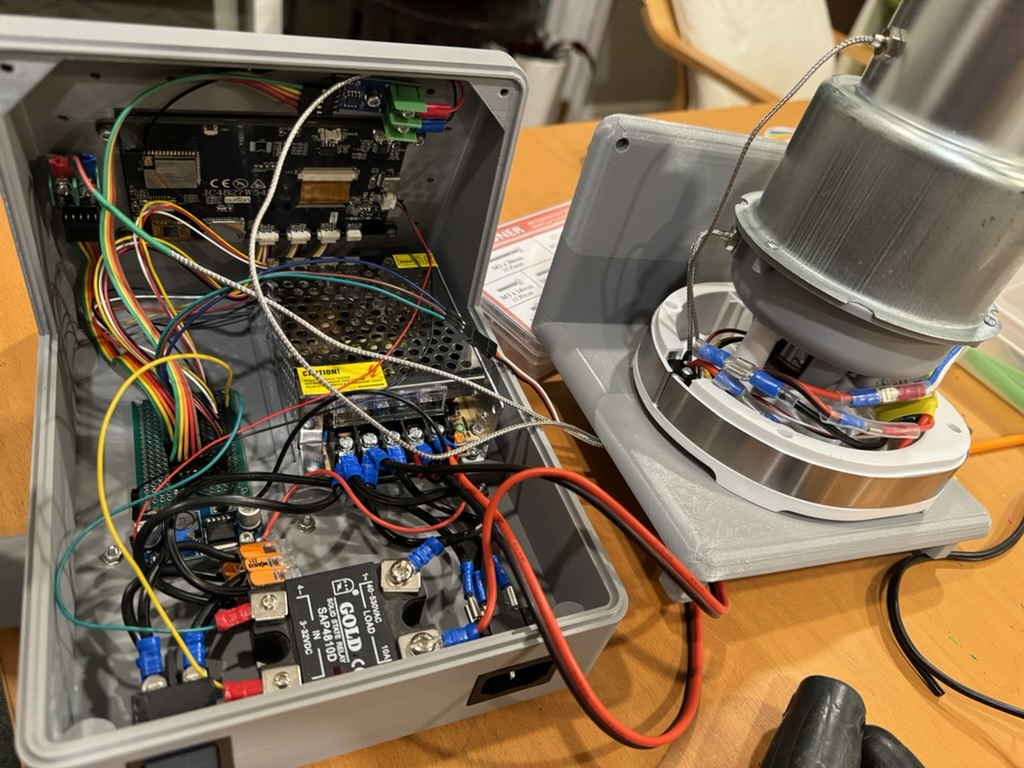
Step-by-step assembly instructions with printed-part references, breakout-board guidance, wiring details, and build photos.
Parts list with Amazon and AliExpress sources, two motor-build variants, and notes for the JC controller wiring and popper conversion.
Bootstrap, build, upload, OTA, tests, and runtime interfaces for the JC4827W543C firmware target.
WebSocket logging setup, settings import, screenshots, and first connection steps for Artisan.
The firmware runs on the JC4827W543C ESP32-S3 display board and is documented separately from the hardware build. The runtime surface includes the touchscreen UI, browser tools, OTA updates, and Artisan-compatible data streaming.
Define time / temperature / fan setpoints. The firmware interpolates between them during the roast. Profiles are stored on-device and editable from the browser.
Closed-loop PID keeps the roasting chamber on target. Dual thermocouples monitor chamber and exhaust temperatures.
The JC4827W543C panel shows real-time temperatures, profile progress, PID workflow screens, and system status directly on the device.
Profile editor, debug console, and live status at roaster.local. OTA firmware updates without opening the case.
Streams roast data over WebSocket to Artisan for real-time curves, logging, and analysis. Config files included.
Full API for profiles, PID tuning, roast control, and system status. OpenAPI spec in the repo.
This project controls line voltage and high temperatures. The firmware has safety systems, but understand the risks before building.
Start with the build guide and BOM, then follow the firmware and Artisan docs as you bring the roaster online.